Properly installed graphics drivers ensure optimal performance for gaming, rendering, and display quality on Ubuntu. This guide will walk you through the process of identifying, installing, and updating the right graphics drivers for your system.
1. Identify Your Graphics Card
Before installing drivers, identify your graphics card model and manufacturer (NVIDIA, AMD, or Intel).
- Check via Terminal:
Open the terminal (Ctrl + Alt + T) and run:
lspci | grep -E "VGA|3D"This will display your graphics card information.
- Alternative Method:
You can also use theglxinfocommand:
   sudo apt install mesa-utils
glxinfo | grep "Device"- Learn More:
For a detailed explanation of these commands, visit LinuxConfig.
2. Check for Existing Drivers
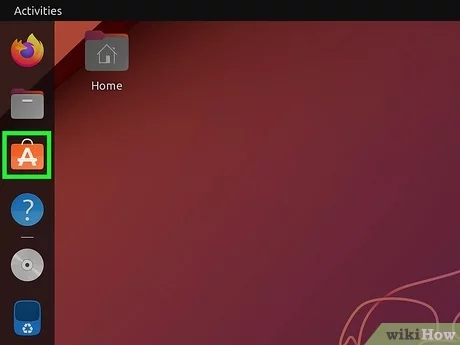
- Open Software & Updates:
- Go to Applications > Software & Updates > Additional Drivers.
- Look for Available Drivers:
- Ubuntu will list proprietary and open-source drivers compatible with your graphics card.
- Resource:
If you’re unsure about choosing between open-source and proprietary drivers, Ubuntu’s Wiki on Graphics Drivers provides a clear explanation.
3. Installing NVIDIA Drivers
- Add the NVIDIA PPA:
To ensure the latest drivers are available:
   sudo add-apt-repository ppa:graphics-drivers/ppa
sudo apt update- Install the Recommended Driver:
Run:
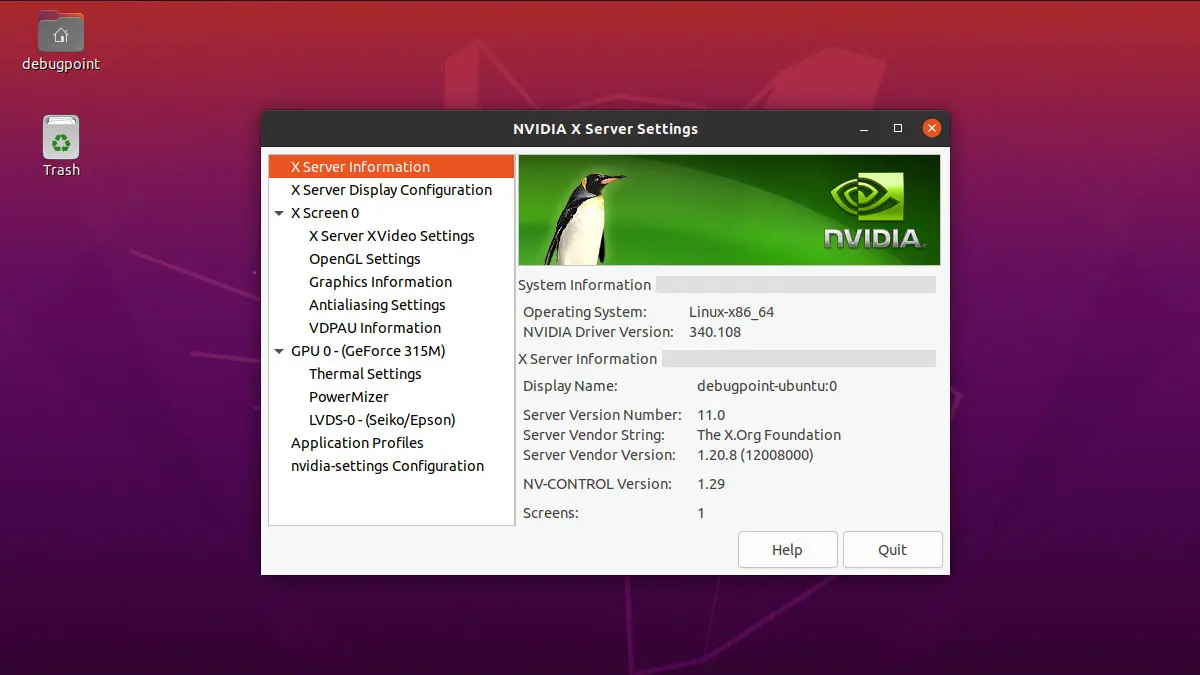
sudo ubuntu-drivers autoinstall- Verify Installation:
Check the installed driver version:
nvidia-smi- Helpful Link:
Refer to NVIDIA’s official guide for Linux for advanced installation instructions.
4. Installing AMD Drivers
- Open-Source Drivers:
AMD GPUs typically use the open-sourceamdgpudriver, which is installed by default on Ubuntu. Check for updates:
sudo apt update && sudo apt upgrade- Proprietary Drivers (Optional):
If you need additional features, such as ROCm for compute tasks, download drivers from AMD’s official website. - Check Compatibility:
Verify that your GPU model is supported by the proprietary drivers on the AMD website.
5. Installing Intel Graphics Drivers
- Default Driver:
Intel integrated GPUs typically work out-of-the-box with thei915driver. - Update the Mesa Drivers:
For improved performance, update to the latest Mesa drivers:
   sudo add-apt-repository ppa:kisak/kisak-mesa
sudo apt update && sudo apt upgrade- More Info:
Detailed instructions for Intel GPUs are available on the Intel Open Source Graphics Wiki.
6. Verify Driver Installation
- Check the Loaded Driver:
Run:
lsmod | grep <driver-name>Replace <driver-name> with nvidia, amdgpu, or i915.
- Check Display Information:
Usexrandrto see which driver is controlling your display. - Test Performance:
Run a benchmark tool likeglmark2:
   sudo apt install glmark2
glmark2- Resource:
Learn how to benchmark your GPU using Phoronix Test Suite.
7. Troubleshooting
- Reinstall Drivers:
If you encounter issues, remove and reinstall drivers:
   sudo apt remove --purge <driver-package>
sudo apt install <driver-package>- Revert to Open-Source Drivers:
Switch back to default drivers:
sudo apt install xserver-xorg-video-nouveau- Helpful Guide:
Follow this Ask Ubuntu thread for fixing black screen issues after installing drivers.


