To install Ubuntu sometimes can be really annoying if you are not familiar with the installation process as you can land into different errors. In this article you are going to learn how to install Ubuntu and how to solve common errors during installation process.
What you will need
This are materials you should have in order to install the Ubuntu OS in any computer.
- A laptop or PC with at least 25 GB storage space and above
- A flash drive of 12 GB or above
How to download Ubuntu latest version
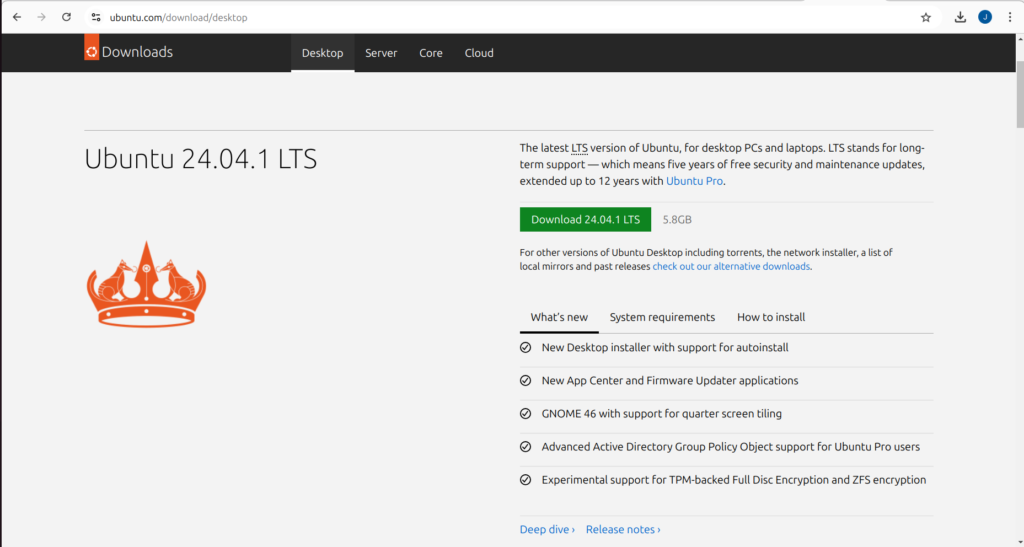
To do download Ubuntu its pretty easy you just need a strong internet to make the download process quick and smooth or optionally download with third party programs like Internet download which is free for the 30 days. To download Ubuntu image visit their official website here.
How to Create a bootable flash drive
In order to install the downloaded Ubuntu ISO file you need to write the ISO file into USB Flash in order to create the installation media. To do this you will need a specialized software like Rufus or balenaEtcher.
In this tutorial we are going to use balenaEtcher
To download it visit there website here.
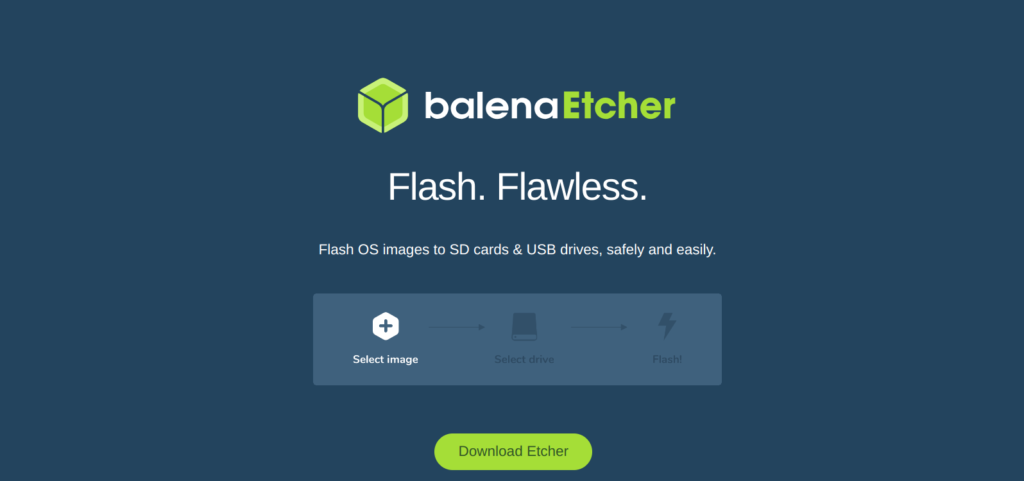
After downloading and installation the interface will look as above image. The software can run in different operating systems eg windows, linux and Mac.
To make the OS file bootable select click the select image or drag and drop the OS file the software will detect. Your flash stick should be inserted in your computer and the program will automatically detect it. Leave everything as default and give it sometime the process will be complete
Boot from usb flash drive
Plug the USB flash drive into the laptop or PC where you want to install Ubuntu, then boot or restart the device. It should automatically detect the installation media. If it doesn’t, try pressing F12 during startup to access the boot menu and select the USB device. For other computers, you might need to use different keys, such as Esc, F2, F10, or Delete, depending on the manufacturer.
After the installer has loaded, you’ll be prompted to select your preferred language.
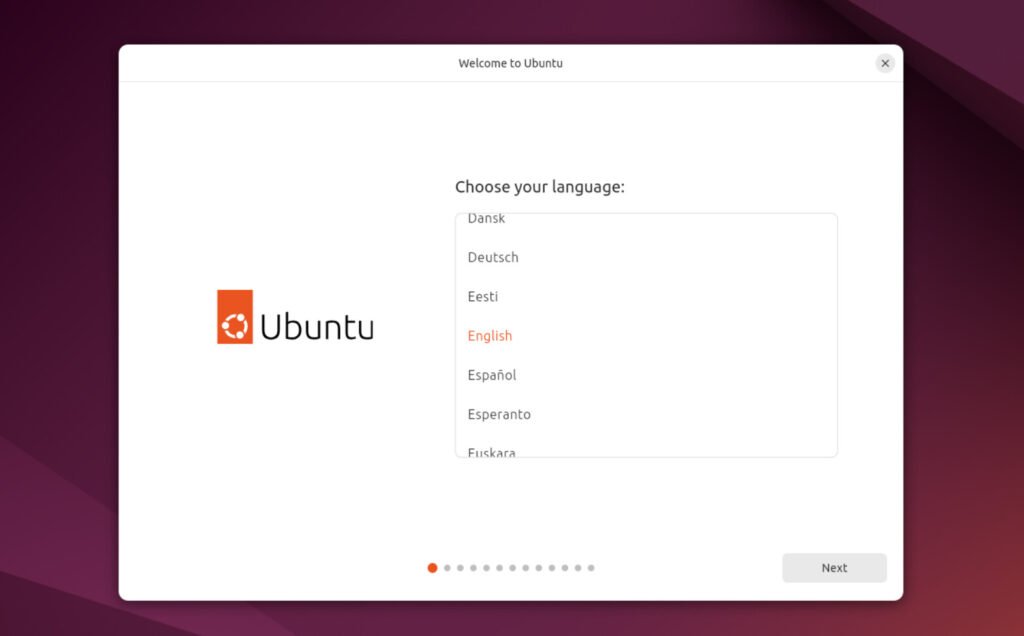
Once you’ve chosen your preferred language, click “Continue” to proceed with the installation. You’ll then see options to try Ubuntu or install it directly. If you’re ready to install, select “Install Ubuntu.” The installer will guide you through several steps, including selecting your keyboard layout and connecting to Wi-Fi if you’re using a laptop.
Next, you’ll reach the installation type screen. Here, you can choose to erase your entire disk and install Ubuntu or set it up alongside another operating system. If you’re unsure, the first option is usually the easiest. Follow the prompts to set your time zone, create a user account, and choose a password. After you finish these steps, the installation will begin. Once it’s complete, you’ll be prompted to restart your computer, and you can then remove the USB flash drive. Your new Ubuntu system will be ready to use!
Common error during Ubuntu installing and how to solve them
Here are some common errors that you might encounter while installing Ubuntu and tips on how to resolve them:
- Boot Failure
Error: The system doesn’t boot from the USB drive. Solution: Ensure the USB drive is properly created and formatted as a bootable drive. Check the BIOS/UEFI settings to make sure the USB drive is set as the first boot option. You may also need to disable Secure Boot in some cases. - Installation Freezes or Crashes
Error: The installation process stops responding. Solution: Try using a different USB port, especially a USB 2.0 port if available. If the problem persists, verify the integrity of the downloaded Ubuntu ISO file by checking its checksum. You can also try using a different installation method, such as using a DVD instead of a USB. - Partitioning Issues
Error: Problems when creating or modifying partitions. Solution: If you encounter errors during partitioning, make sure you have unallocated space on your disk. You can also use tools like GParted (available in the live session) to prepare your partitions before running the installer. Ensure you’re aware of the existing partitions to avoid data loss. - Network Connection Problems
Error: Unable to connect to Wi-Fi during installation. Solution: Make sure your Wi-Fi is enabled and you have the correct password. If the installation media doesn’t recognize your Wi-Fi card, consider using a wired Ethernet connection instead. - Outdated Graphics Drivers
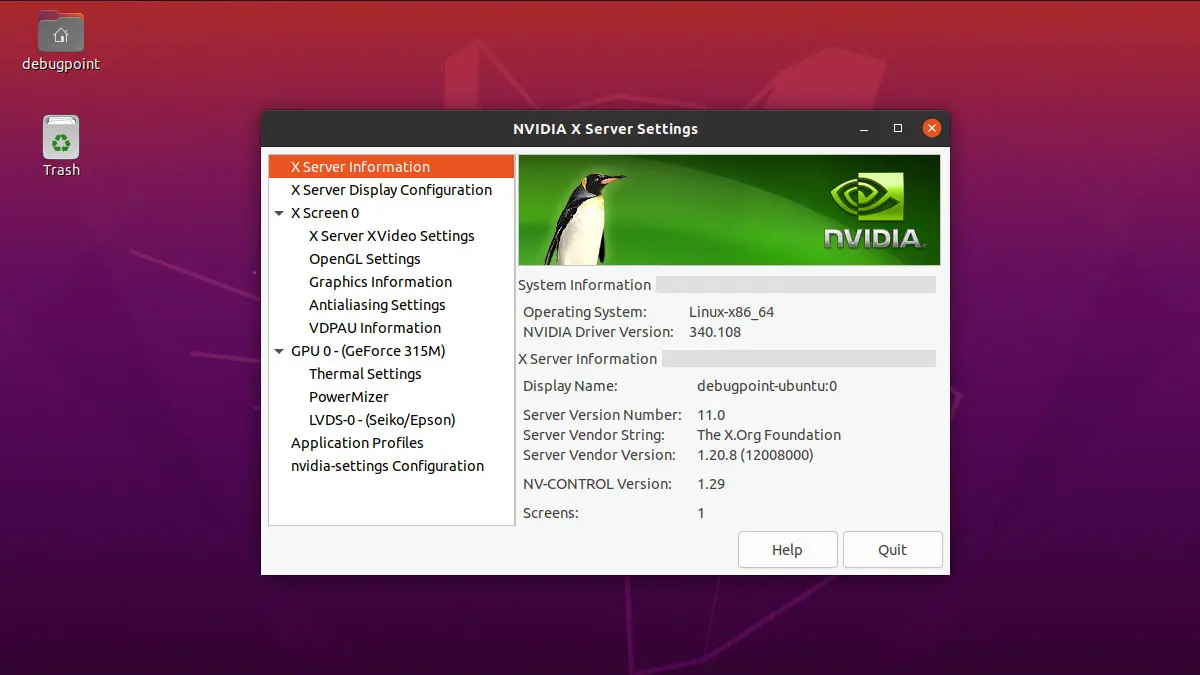
Error: Installation fails due to graphics-related issues. Solution: If you suspect graphics driver problems, try booting in “nomodeset” mode. When you start the installer, press “e” on the boot option and add nomodeset after the quiet splash line. This can help bypass issues with graphics cards. - Insufficient Disk Space
Error: Not enough space to complete the installation. Solution: Ensure you have enough free space on your target disk. You may need to delete unnecessary files or partitions before proceeding. You can also use GParted from the live environment to resize existing partitions. - User Account Issues
Error: Trouble creating a user account or logging in. Solution: Make sure you enter a valid username and password during the setup process. If you forget your password, you can reset it by booting into recovery mode.
By addressing these common errors, you can improve your chances of a smooth Ubuntu installation. If problems persist, consult the Ubuntu forums or community for more specific guidance.
